
Steps to Create Custom Views in Vryno CRM?
Step 1: Login to your Vryno CRM account
Step 2: Navigate to the module where you want to create a Custom View
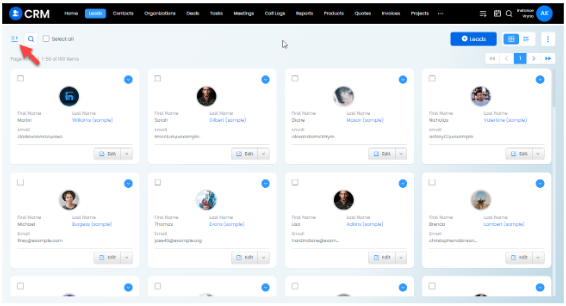
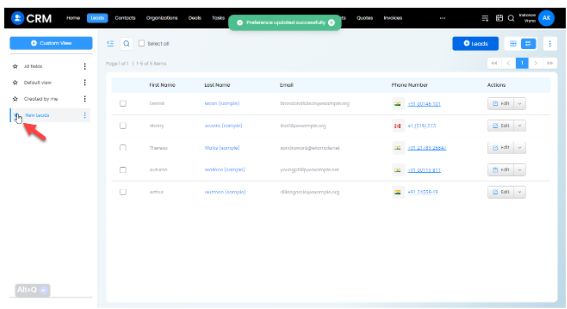
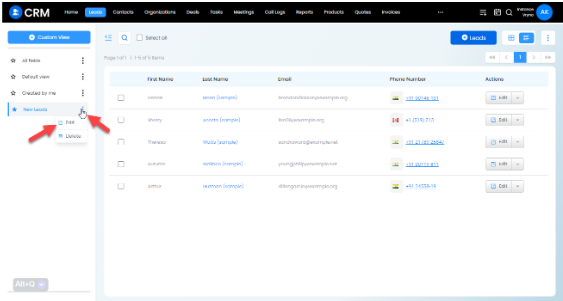
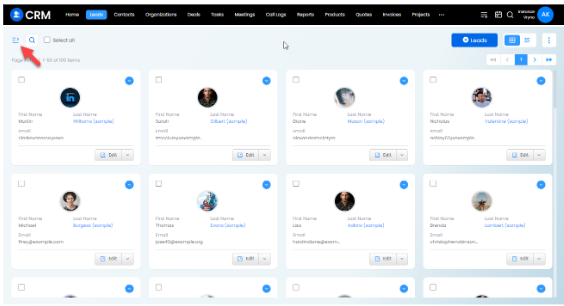
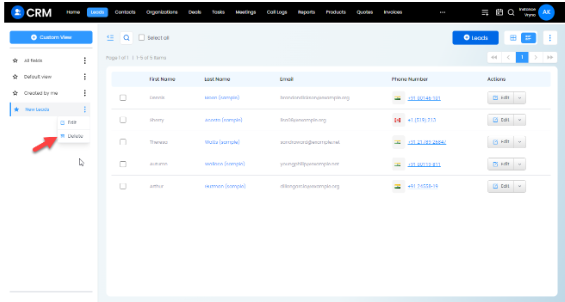
Step 3: Click on the three lines on the top left corner to access custom views
Step 4: Click on the + Custom View Button

Step 5: Give the Custom View a name
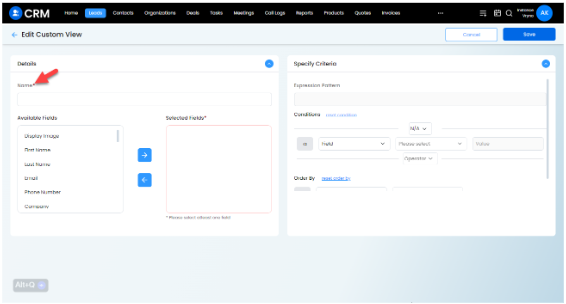
Step 6: Select fields by clicking on them from the Available Fields section and then click on the arrow pointing towards to Selected Fields section to select them

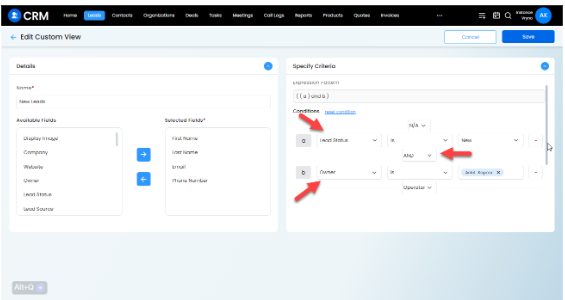
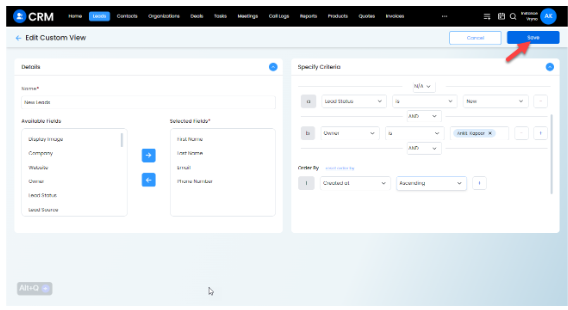
Step 7: On the right hand side where the system asks you to Specify Criteria, select the conditions based on the data you would like to see
Eg: Here in the image below, I want to see all the Leads of mine that have their status set to “New”. Therefore, the conditions I added include: a. Condition 1: Lead Status (Field) + is (Operator) + New (Field Response) b. Next I clicked on the + button next to the first condition and chose AND as the relationship betweem my first condition & the second condition I’m about to setup c. Condition 2: Owner (Field) + is (Operator) + Ankit Kapoor (Field Response)
Step 8: At the bottom you would see another section named Order By that lets you select how you wish to sort your data
Eg: Here in the image below, I want to see the most recently created first, therefore I chose “Created At” as the Order By Field and in the dropdown next to it, I chose Ascending

Step 9: Click on Save

Congratulations! You’ve managed to create your first custom view
How to mark an existing custom view as default
Step 1: Login to your Vryno CRM account

Step 2: Navigate to the module where you want to create a Custom View
Step 3: Click on the three lines on the top left corner to access custom views
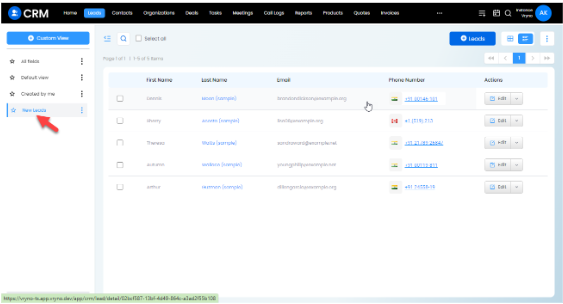
Step 4: Click on the Star icon next to the custom view you wish to mark as the default custom view
How to Edit an existing custom view
Step 1: Login to your Vryno CRM account

Step 2: Navigate to the module where you want to create a Custom View
Step 3: Click on the three lines on the top left corner to access custom views
Step 4: Click on the three dots next to the custom view and click on Edit
Step 5: Make the required changes & click on Save
How to Delete an existing Custom View
Step 1: Login to your Vryno CRM account
Step 2: Navigate to the module where you want to create a Custom View

Step 3: Click on the three lines on the top left corner to access custom views
Step 4: Click on the three dots next to the custom view and click on Delete
Step 5: Click on Delete in the box that pops up to confirm deletion of the chosen custom view
